¶ Introduction
Stories form the backbone of the Slip social media platform. With Stories, you can show users what your company is like. When you post a new Story, it shows up in the feeds of any user for whom the Story is relevant. Your followers and your company's followers will get a notification of your new Story. As a result, your Stories may reach a lot of people!
On Slip, it is possible to post a Story in three modes: as yourself, as your company, or as yourself at your company. Users visiting the corresponding profile will find all posted Stories in the profile's Story Gallery. More about this will follow in the section “Creating a new Story".
¶ Prerequisites
In order to create a story, you'll need:
- A short description explaining what the user is looking at
- Media in the form of 1 or more photos and/or videos
For the media, we recommend creating Stories with a short video with a duration of around 1 minute. It is recommended to create multiple short Stories over a single longer one.
Some examples that might make good subjects for stories are:
- Overview of the company
- The workplace
- Success stories
- Any perks
Please make sure all rights are reserved, and consent is given for any people or private property in the photos and or videos. This also applies to background music; when in doubt, use CC0 licensed music.
To ensure the media uploads successfully, make sure the video is properly encoded. Raw video files can be dozens if not hundreds of times larger than re-encoded files, hampering performance. Free software such as HandBrake makes it easy to re-encode video files. We are always happy to help out, so contact us if you need any help with this.
Note: A Story may have multiple segments, i.e. a combination of photos and videos.
¶ Creating a new Story
¶ Start creating a new Story
Head over to the Stories page on the Business Portal:
On the Stories page, you'll see three tabs filtering stories based on which profiles they were posted with: as just the company, as yourself at the company, or just as yourself.
Each profile tab has three status tabs: Published, Draft and Hidden. Stories will be added to “Draft” until they are published by you.
To create a new Story, click the “Add Story” button.

¶ Enter a description
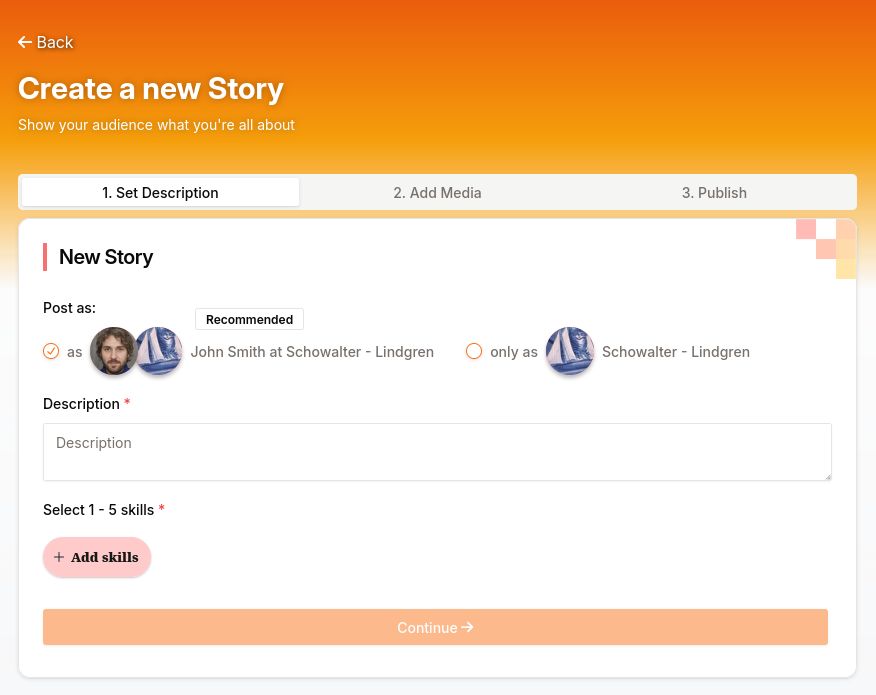
On the next page, you'll see the Story creator with three steps to follow, and a in-app preview of the soon to be posted Story. The preview will update as you go.
First, select as who you want to post the Story. It is recommended to post as yourself at your company, so that the Story is tied to your company profile while keeping a personal touch.
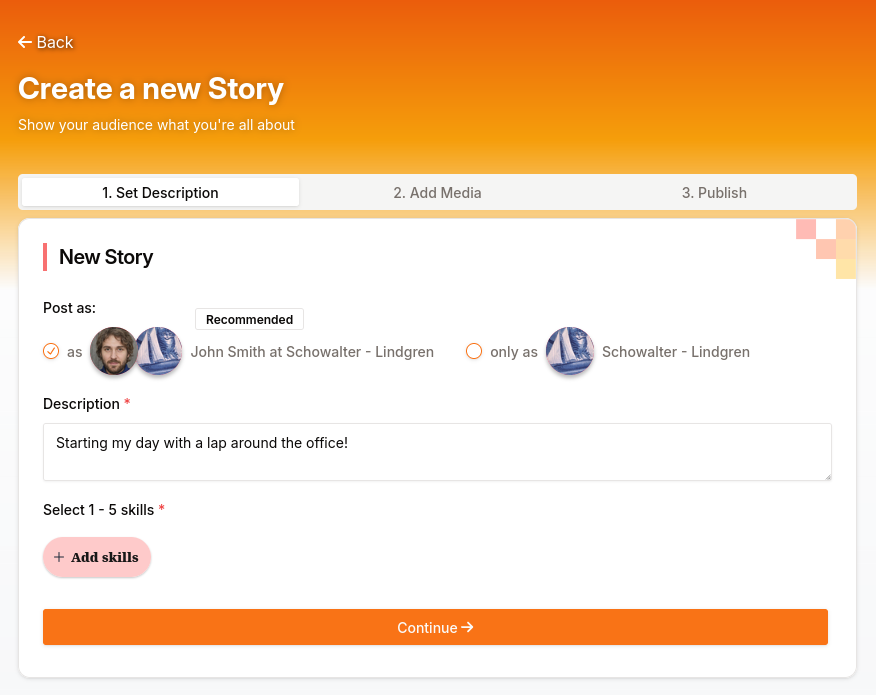
Enter a short description to let the user know what they're looking at:
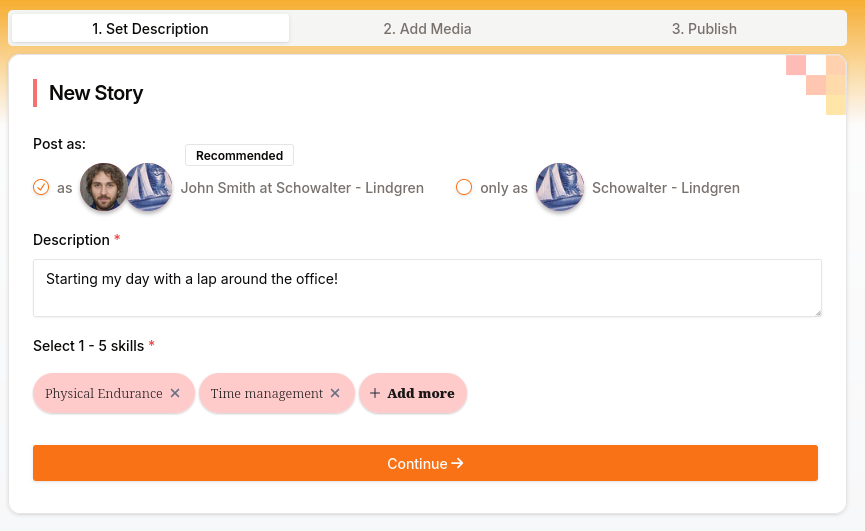
Select 1 to 5 skills you're demonstrating in your Story:

The skills you choose are used in the content algorithm to show users relevant content, so make sure to pick skills that match your content here.
After the description and skills are set, click Continue to go on to the next step.
¶ Add media to the Story
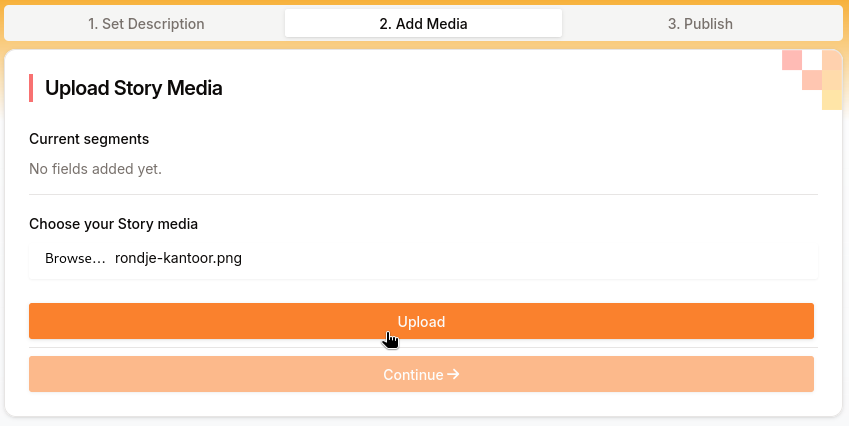
Now the Story is ready for some media to be added. Click “Browse” to select your files:
Add the media you want to post one by one by clicking Browse:

Select a single file in the popup, and click Upload:
When all the media has been uploaded, inspect the Story preview:
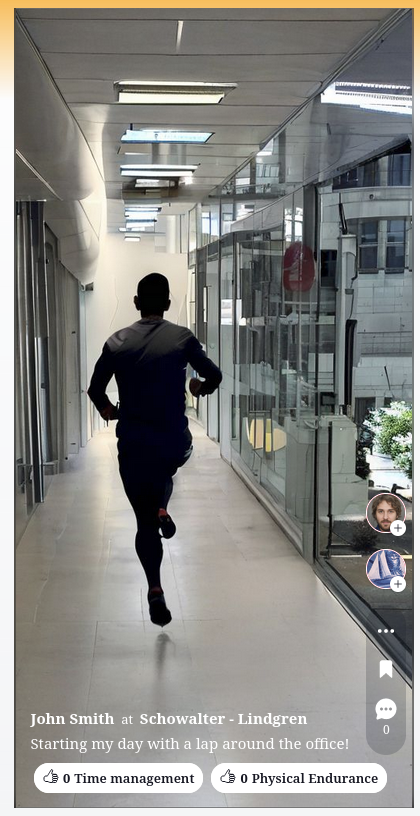
When you're happy with the way the Story looks, hit Continue to go on to the last step:

¶ Publishing a Story
Published stories will be visible for users in their “Trending” feed depending on the relevance to them, and will show up in the “Posts” view of your profile.
Users that follow you or the company will get a notification for your new Story.
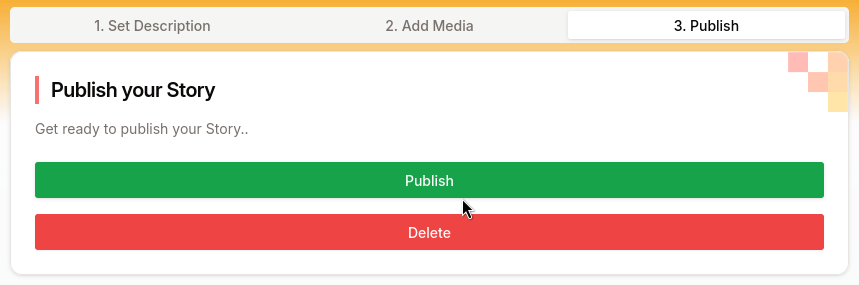
When you are ready, publish your Story with the “Publish” button:
After publishing your Story, you can always unpublish (hide) or delete it here:
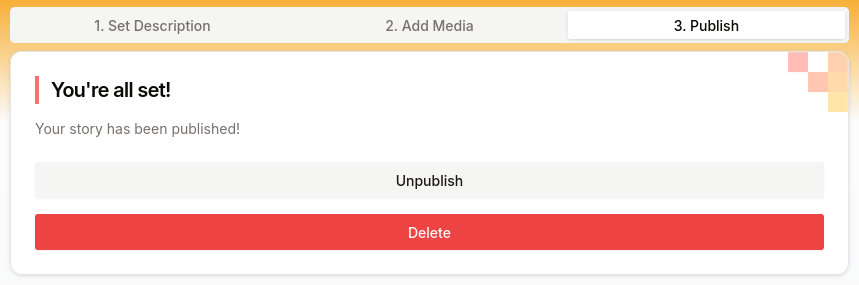
Congratulations, you're all set!